


This tutorial will be just a simple way to create menus using the Canvas System and Panels. I got a request from a purchaser of Level Manager who wanted to create a button to show the LevelButtons created with Level Manager and maybe also a button back to the menu. So let’s get started.
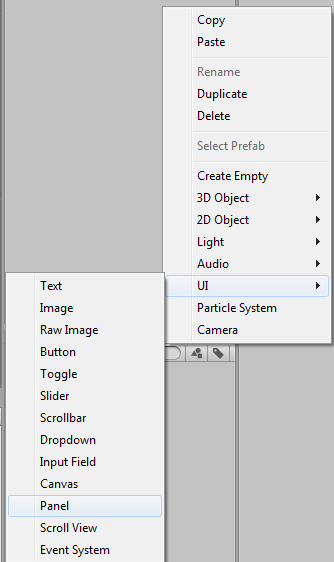
First i create a Panel for the MainMenu. So right click into the Hierachy Panel and create a new UI>Panel.
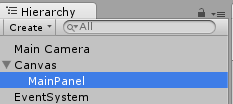
Now we have a fullscreen panel, which we can enable and disable anytime to show other panels. So rename the panel to MainPanel. Namingconvention is king!
Now we can create buttons and other GUI elements to this Panel. So depending on the style of your game, you should create your GUI! I don’t go over design, since that is not what this tutorial is about!
So create another Panel now for the menu. I keep it on stretch on the Rect Tranform but will reduce the size. Also i rename it to MenuPanel.
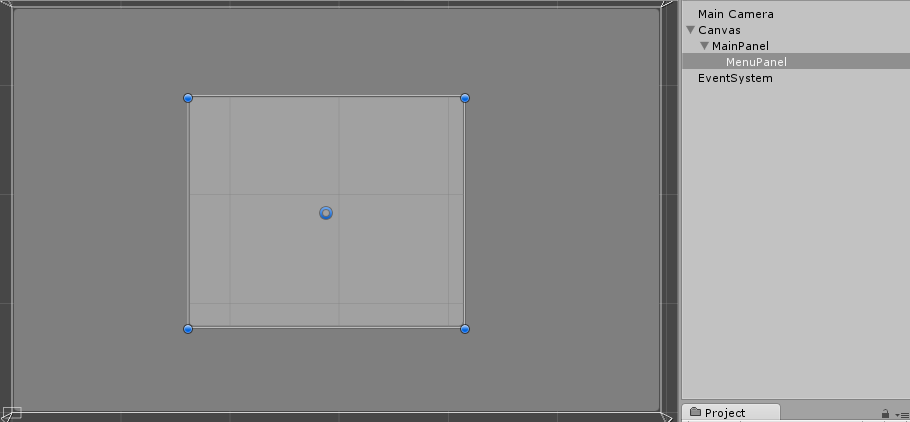
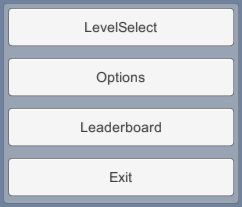
Now we could create Buttons by hand and place them in or use a Vertical Layout Group to arrange the buttons automaticly. It’s up to you!
For a Vertical Layout group select the MenuPanel and in the Inspector on add component and seacrh for vertical layout group in the console. Once added fill in somw spacing if you like and disable Height in Child Force Expand.

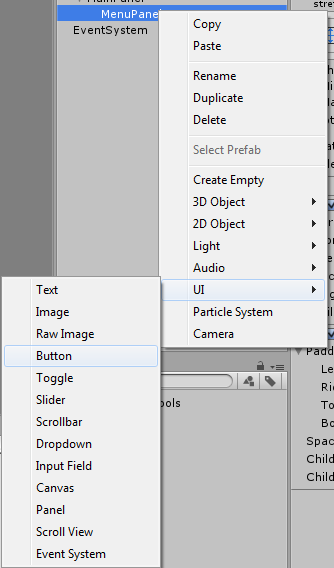
Now add a button to the MenuPanelso right click on the MenuPanel when it is selected UI>Button.
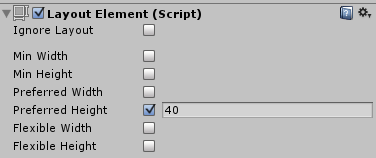
Now a strange thing will happen! The button will be create in the Top Left corner of the Panel. No Problem! Just drag it where it has to be! In the Panel. Also it will be slim so we need to rearrange the size of the button with a Layout Element! So add one to the button. Select the Button > Add Component > search for Layout Element and add it. Time to change some value to overwrite the Vertical Layout Group. I set the Preferred Height to 40 so it will be always like this. More than enough For this button.
Rename the Button to MenuButton. Create a prefab from this Button by dragging it into your prefabs folder for later use.
![]()
Now you can create lotsa buttons from that prefab and don’t have to worry about the rest, at least for now. Now we create an empty GameObject and rename it to UI Manager. This will control all panels we will have later. We will use it to access Buttons and their functions.
Create a new C# Script and name it Menu_Buttons. Open it in Monodevelop or Visual Studio. I use Monodevelop. In here we create the functions for our buttons which will be called, when we click on buttons. We don’t need update so you can delete it!
First we create all Varibles for the Panels we want to enable or disable when ever we need. I create 2, one for the MenuPanel and one for the LevelSelectPanel. We havn’t created that yet, but if you have purchased my LevelManager you will have it already. If you’havn’t purchased Level Manager we will create that soon!
public GameObject MenuPanel;
public GameObject LevelSelectPanel;
In start we want to make sure, that menuselect panel is active, and the rest inactive.
 void Start()
     {
         MenuPanel.SetActive(true);
         LevelSelectPanel.SetActive(false);
     }
Now we create 2 function for both panels to activate and deactivate them. make sure they are public.
public void ShowLevelPanel()
     {
         MenuPanel.SetActive(false);
         LevelSelectPanel.SetActive(true);
     }

 public void ShowMenuPanel()
     {
         MenuPanel.SetActive(true);
         LevelSelectPanel.SetActive(false);
     }
Save the script and return to Unity. Create the Level Panel. Do it in the Canvas not in any Panel! Name it LevelSelectPanel. You can freely create a Button in here to as a Back to Menu Button.

Time to add functionallity to the buttons and panels! Select the UI Manager we created and add the Menu_Buttons Script to it. Time to fill in the corresponding Panels. So drag in the right Panels from the Canvas into the slots or click on the small dot to choose the from the list.
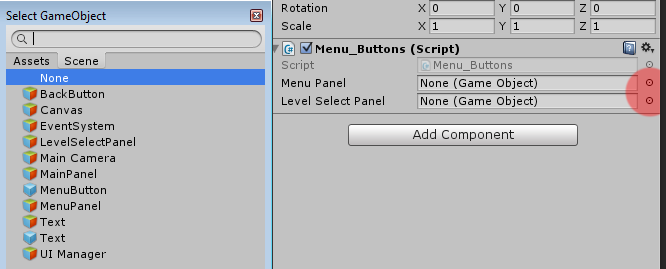
So after filled them in correct it will look like this.

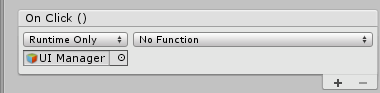
Now select the “Back to Menu” Button and search for the OnClick() Event, select the small + to get a new Event slot open. Drag in the UI-Manager from the Hierarchy Panel into the Slot or again use the small dot.
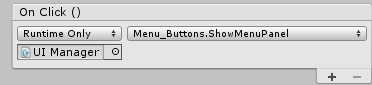
Click on the “No Function” DropDown and select Menu_Buttons>ShowMenuPanel
Select your LevelSelect Button now and do the same with that button, but choose the ShowLevelPanel instead.
So again do:
- OnClick Event click on +
- Drag in the UI Manager or use the dot
- Select the Function Menu_Buttons>ShowLevelPanel
Preview

Now you have the possibilty to change Panels OnClick. Add more Panels now for more stuff. Like Options, Credits, Scores, Leaderboards and so on.
Please Rate if this tutorial was helpful.