Since i get the same requests over and over again, i decided to write a small FAQ with small snippets of code and such, depending on the needs of purchasers.
Content:
1.) How to make a 2D Trigger to unlock the next Level?
2.) How to delete Save Data without restarting the whole game.
3.) How to set the world button background images individually?
4.) How can i implement a “Next Level” button after i have completed a Level?
5.) How can i have individual scores to unlock stars for each level?
6.) Can i create alot levels in just one scene?
7.) How to create the buttons on a Map without a Grid Layout Group?
8.) How can i tint the current World Button?
9.) How to implement a simple loading screen?
10.) How to unlock the next Level only with a specific score?
11.) How can i change a Background Image when i press the World Button?
12.) How to unlock world Buttons according to a Stars Amount?
13.) How to show World & Level Buttons on different Screens?
14.) How to show the choosen World Name instead of “World 1”?
15.) How to load levels only if i have enough “Lifes”
1.) How to make a 2D Trigger to unlock the next Level?
Whatever your Trigger is, add a script to it. In there create the OnTriggerEnter2D Function:
  //Unlock Next Level On touch
 void OnTriggerEnter2D()
 {
     int myCurLevel = GameManager.Instance.loadedLevel;
     int myCurWorld = GameManager.Instance.loadedWorld;

     if (myCurLevel < GameManager.Instance.worldsAndLevels[myCurWorld - 1])
     {
         PlayerPrefs.SetInt("Level" + myCurWorld + "_" + (myCurLevel+1), 1);
     }
 }
2.) How to delete Save Data without restarting the whole game?
Just extent the DeleteAll() function with this extra line of code:
  //Reload Scene
 SceneManager.LoadScene(SceneManager.GetActiveScene().name);
3.) How to set the world button background images individually?
In the World Class add a new sprite;
public Sprite WorldSprite;
In the FillList() function in the first foreach loop after the world button has been created enter this:
  //change the background image of the button itself
 if (world.WorldSprite != null)
 {
     newWorldButton.GetComponent<Button>().image.sprite = world.WorldSprite;
 }
Now you can use different sprites as background images in the world buttons, just drag them into the inspector slot.
4.) How can i implement a “Next Level” button after i have completed a Level?
Create your button. Add an onclick event. In Saver add this small function:
  public void GoToNextLevel()
     {
         if (curLevel < GameManager.Instance.worldsAndLevels[curWorld - 1])
         {
             GameManager.Instance.loadedLevel = (curLevel + 1);
             SceneManager.LoadScene("Level" + curWorld + "_" + (curLevel + 1));
         }
         else
         {
             Debug.Log("NO LEVELS LEFT IN THIS WORLD");
         }
     }
Drag Saver into the On Click event of the button and choose GoToNextLevel function.
5.) How can i have individual scores to unlock stars for each level?
Add the Star1Points, Star2Points, Star3Points variables into the Level class.
Change the 3 Lines in the 2nd foreach where you see
>= Star1Points >= Star2Points >= Star3Points
To
>= level.Star1Points >= level.Star2Points >= level.Star3Points
Now you can set Star Points for each Level individually.
6.) Can i create alot levels in just one scene?
No! Level Manager Plus needs 1 scene per level.
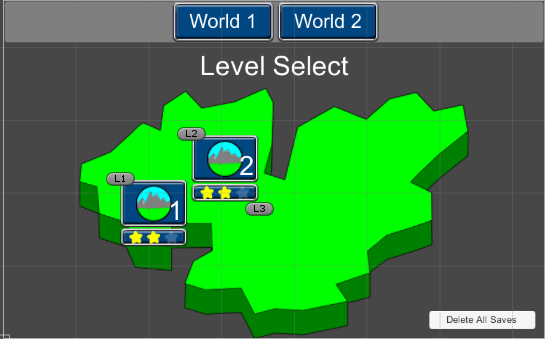
7.) How to create the buttons on a Map without a Grid Layout Group?
This might require you to change the Button Size and appearence depending on the screensize. You can even create a 3D Level Selector with this method ;).
Here is how:
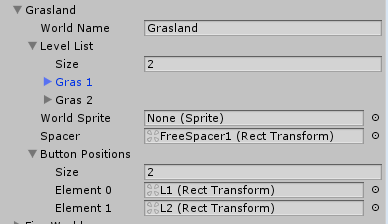
1.) If you want different positions in each world. Add this in the world class in The Level Manager Script:
public List <Transform> buttonPositions = new List<Transform>();
This will be the list for all button positions. You can also use Vector2 Or Vector3 if you know the positions.
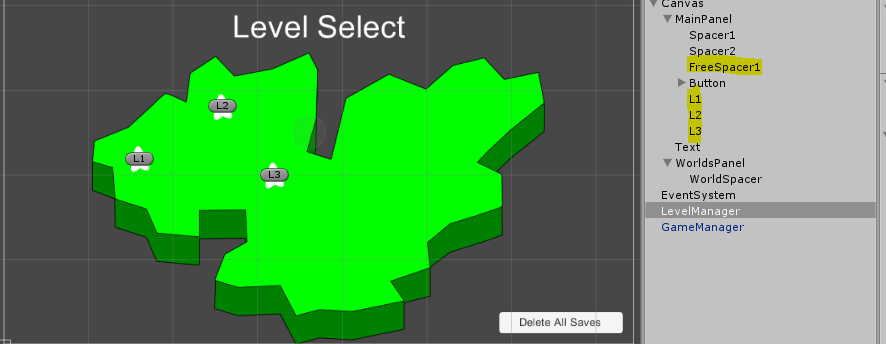
2.) Create an empty GameObject without any Layout Group on it and make it child of your main Panel, Name it FreeSpacer1 or whatever you please. Make it as big as your Map is.
3.) In the Level Manager GameObject, in World 1 change the Spacer to this GameObject(FreeSpacer1).
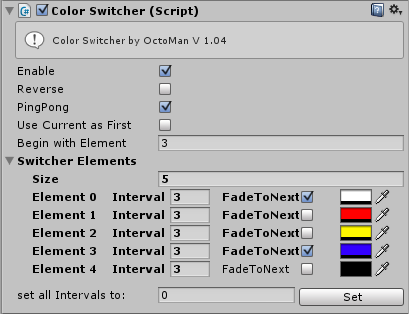
4.) Now create empty Images or whatever in the MainPanel for the positions where you want the buttons to appear. Rename them properly so you know where which button has to be. You can also help yourself with using Icons in the top left of the Inspector(The gray ones in the image below).
5.) Now again in the Levelmanager Script go to the FillList() function. In the foreach loop for the levels, after this line:
newbutton.transform.SetParent(world.Spacer,false);
Add the following:
 if (world.buttonPositions.Count > 0)
 {
      button.transform.position = world.buttonPositions[curLevel - 1].position;
 }
6.) Now drag your locations you need into the buttonPositions List.
7.) Once done disable the image components of your location Objects, so you wont see em and you will have your buttons anywhere you want on the map.
Repeat steps 2,3,4,6 for all worlds, Or mix it how ever you like , Done!
8.) How can i tint the current World Button?
This can be fairly easy achieved.
1.)Open up WorldButton.cs
2.)Input the following function:
 public void changeColor()
     {
         //Find all Worldbuttons in the scene
         GameObject[] worldButtons = GameObject.FindGameObjectsWithTag("WorldButton");
         for (int i = 0; i < worldButtons.Length;i++)
         {
             worldButtons[i].GetComponent<Button>().image.color = Color.white;//change all to white color
         }
         GetComponent<Button>().image.color = Color.red;//change the currently clicked one to red
     }
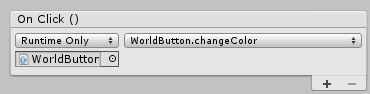
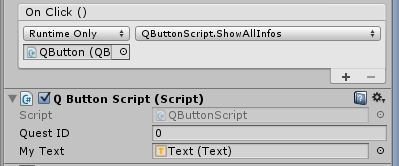
3.) Add this function now to the OnClick Event in the WorldButton Prefab. To do so click on the + Drag in the World Button Prefab and choose changeColor() on the right.
Now you are able to click on the Buttons so the can switch their color. But you also want that from the start of the game so we have to make a small change in the levelmanager.cs
4.) Open LevelManager.cs
5.) create a new List in the top
List<GameObject> worldButtons = new List<GameObject>();
6.) Now in the FillList() function search for SaveAll(). Under that you see this:
//show the right/last used World Spacer
if (GameManager.Instance.loadedWorld > 0)
   {
      WorldList[GameManager.Instance.loadedWorld - 1].Spacer.gameObject.SetActive(true);
   }
   else
   {
      WorldList[0].Spacer.gameObject.SetActive(true);
   }
Change it to this:
//show the right/last used World Spacer
if (GameManager.Instance.loadedWorld > 0)
{
   WorldList[GameManager.Instance.loadedWorld - 1].Spacer.gameObject.SetActive(true);
   //Change the color of the world button to red
   worldButtons[GameManager.Instance.loadedWorld - 1].GetComponent<Button>().image.color = Color.red;
}
else
{
   WorldList[0].Spacer.gameObject.SetActive(true);
   //  Change the color of the world button to red
   worldButtons[0].GetComponent<Button>().image.color = Color.red;
}
That’s it.
9.) How to implement a simple loading screen?
This is a rather easy task. Open LevelManager.cs.
1.) Create a new variable for our Loading Image:
GameObject loadingImage;
2.) In Start() add:
 loadingImage = GameObject.Find("LoadingImage");
 loadingImage.SetActive(false);
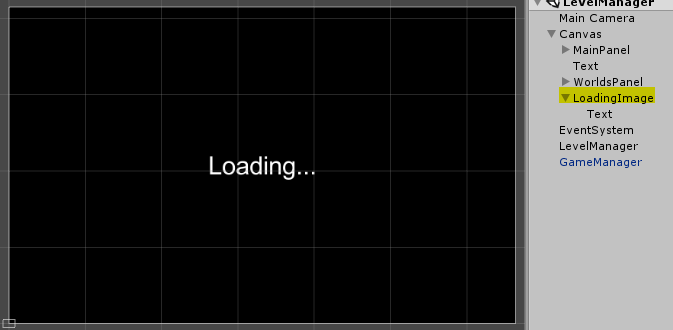
3.) In the Canvas create an Image, make it uniform stretch and add all you need as child objects. Like: Sprites, Text, Loading Circles… Make sure it’s named LoadingImage so it can be found on Start(). You can implement animated stuff as you please and like on it as childs.
4.) Change the loadLevels function to this:
     void loadLevels(string value)
     {
         //Application.LoadLevel (value);
         //SceneManager.LoadScene(value);
         StartCoroutine(LoadingImageWait(value));
     }
5.) Now we need an IEnumerator to show the Image, wait a bit and then do the actual loading.
     IEnumerator LoadingImageWait(string value)
     {
         loadingImage.SetActive(true);
         yield return new WaitForSeconds(3);//change the number to how long you want at least the loading screen be visable!
         SceneManager.LoadScene(value);
     }
So now, when you press a LevelButton, you will see the image for 3 seconds, then the actual loading process will happen. This is only a one way solution!
10.) How to unlock the next Level only with a specific score?
Since the Saver.CS always unlocks the next level once it’s called, you need to make sure you put this unlocking into an if statement which checks, if the score is high enough before you unlock the next level.
1.) So open up Saver.CS and go to the SaveMyGame() function. Inside the first if statement is this line(39):
PlayerPrefs.SetInt("Level" + NextWorld + "_1", 1);//unlock next World with level 1
And in the else if statement this line(51):
PlayerPrefs.SetInt("Level" + curWorld + "_" + NextLevel, 1);
Around that lines you need to build the if statements to check if the score is high enough, to unlock the next level:
 if (score >= 100)
             {
                 PlayerPrefs.SetInt("Level" + NextWorld + "_1", 1);//unlock next World with level 1
             }
Instead of hardcoding it you can always create a variable to pass in any values per level you like and set them up in the inspector:
public int unlockScore;
 if (score >= unlockScore)
             {
                 PlayerPrefs.SetInt("Level" + NextWorld + "_1", 1);//unlock next World with level 1
             }
11.) How can i change a Background Image when i press the World Button?
1.) Create a new variable in the World Class in LevelManager.CS
 public class World
     {
         ...
         public Sprite WorldBackround;
     }
2.) Also we need a variable to put the Image in, you can place it directly in the canvas or where you like.
 public Sprite LockedSprite;//after this
 public Image WorldBackgroundImage; //add this
3.)In the first foreach Loop look for this line
GameObject value = world.Spacer.gameObject;
under that add
Sprite WSprite = world.WorldBackround;
4.)change the Addlistender Call from:
//call the addlistener functions
WorldSwitcher(b, value);
to this:
//call the addlistener functions
  WorldSwitcher(b, value, WSprite);
5.) At the End of the Fill List Funtion is a SaveAll() Call. The If statement after this needs to be changed to:
 if (GameManager.Instance.loadedWorld > 0)
         {
             WorldList[GameManager.Instance.loadedWorld - 1].Spacer.gameObject.SetActive(true);
             WorldBackgroundImage.sprite = WorldList[GameManager.Instance.loadedWorld - 1].WorldBackground; //add this
         }
         else
         {
             WorldList[0].Spacer.gameObject.SetActive(true);
             WorldBackgroundImage.sprite = WorldList[0].WorldBackground;//add this
         }
6.) Change the WorldSwitcher Function to this:
  //show the right spacer for the corresponding world
     void WorldSwitcher(Button b, GameObject value, Sprite WSprite)
     {
         b.onClick.AddListener(() => SwitchWorlds(value,WSprite));
     }
7.) Change the SwitchWorlds Function to:
  void SwitchWorlds(GameObject value, Sprite WSprite)
     {
         foreach (var world in WorldList)
         {
             world.Spacer.gameObject.SetActive(false);
         }
         value.SetActive(true);
         WorldBackgroundImage.sprite = WSprite;
     }
8.) Now Save and fill in the data inside Level Manager GameObject.
- Drag the GameObject which holds the Image Component for the Background in WorldBackgroundImage Slot
- Drag the Sprites for the correct worlds into the WorldBackround Slots in the Worlds
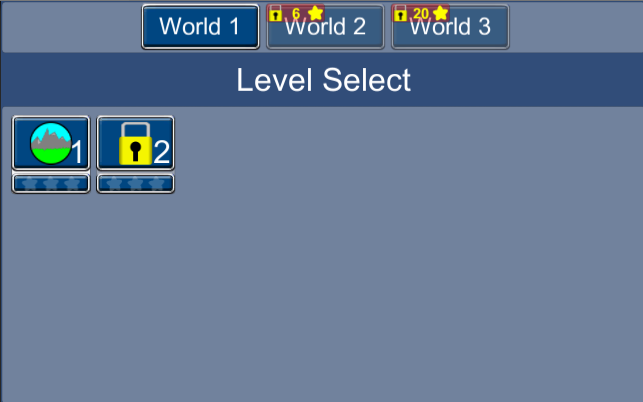
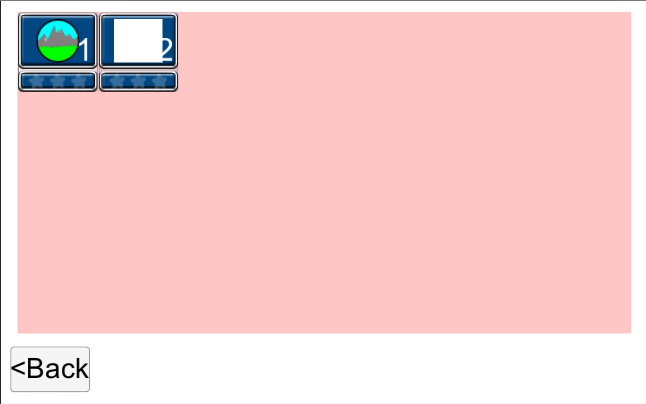
12.) How to unlock world Buttons according to a Stars Amount?
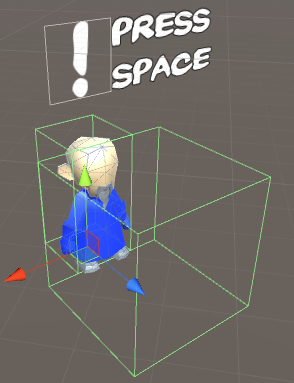
1.) First Make sure you show the Player what the needed Stars are. How you want to design it is your own decision!
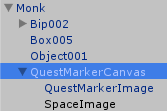
I created a panel as a child of my World Button with a Lock Image, A Stars Text and a Star Image.

2.) Now we need to implement that Panel and the StarsText to our WorldButton Script.
So add that 2 Variables:
 public GameObject lockPanel;
 public Text starsNeededText;
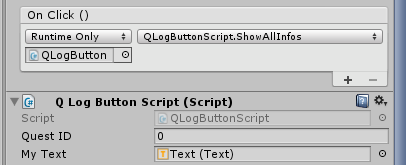
3.) After you have saved the Script Drag the Panel and text for the Stars in the Script on the Button:

4.) Now we need to implement the funcionality onto the Level Manager Script.
In the World class add this variable:
  public class World
     {
        ...
         public int starsNeededToUnlock=0;
     }
Add another variable maybe ate the end of the variables.
private int starsCounter=0;
Now in the 1st foreach of the FillList() function add after line i show:
 Wbutton.WorldText.text = "World " + curWorld.ToString();//after this line
 Wbutton.starsNeededText.text = (world.starsNeededToUnlock-starsCounter).ToString();//ADD THIS
And after the following stuff add this:
 Button b = Wbutton.GetComponent<Button>();//after this line
 //add this
 if (world.starsNeededToUnlock - starsCounter == 0)
    {
         Wbutton.lockPanel.SetActive(false);
         Wbutton.GetComponent<Button>().interactable = true;
    }
    else
    {
         Wbutton.GetComponent<Button>().interactable = false;
    }
Finally we need to count the stars in the 2nd foreach loop:
 button.Star1.SetActive(true);//after this
 starsCounter++;//add this

 button.Star2.SetActive(true);//after this
 starsCounter++;//add this

 button.Star3.SetActive(true);//after this
 starsCounter++;//add this
4.) Now all is setup. In the Level Manager make sure the first World has 0 stars needed and the others seted up to your needs.
(IMPORTANT) If needed stars are less thatn levels per world completed make sure to set other worlds first Level to be unlocked and interactable.
The result could look like this:
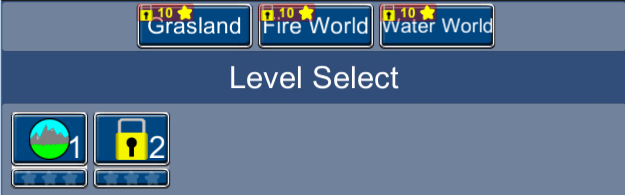
13.) How to show World & Level Buttons on different Screens?
1. Create a Panel for the World Buttons in the Canvas.
Example:
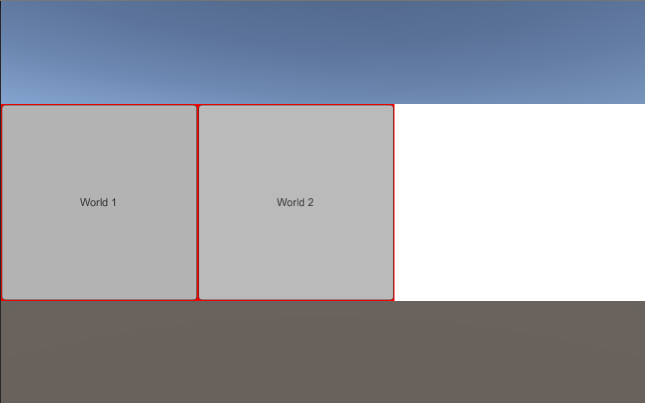
2.) Create a LevelSpacer for each World
Example:
The Back Button is used to switch between the world & the Level Spacers.
Make sure you arrange all like this:
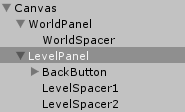
In LevelManager.CS create 2 new Variables:
public GameObject WorldPanel;
public GameObject LevelPanel;
And 2 new functions:
public void ShowWorldPanel()
     {
         WorldPanel.SetActive(true);
         LevelPanel.SetActive(false);
     }
 public void ShowLevelPanel()
     {
         WorldPanel.SetActive(false);
         LevelPanel.SetActive(true);
     }
At the End of the FillList() Function before the Last “}” Closing Bracket enter this:
ShowWorldPanel();
The WorldSwitcher Function needs a little change to:
void WorldSwitcher(Button b, GameObject value)
     {
         b.onClick.AddListener(() => SwitchWorlds(value));
         b.onClick.AddListener(() => ShowLevelPanel());
     }
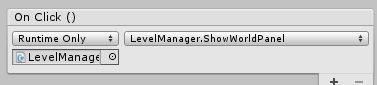
Now connect the newly created Panels in the Level Manager Gameobject:
And the Back Buttons OnClick Event gets the ShowWorldPanel Function:
Thats it. Don’t forget to input the correct Spacers in the Worlds.
14.) How to show the choosen World Name instead of “World 1”?
1.) In the first foreach loop of LevelManager.Cs look for the follwing line:
Wbutton.WorldText.text = "World " + curWorld.ToString();//world.worldNumber;
2.) Comment out the line or change it to:
Wbutton.WorldText.text = world.worldName;
That’s everthing to see the choosen World Name on the WorldButton.
15.) How to load levels only if i have enough “Lifes”?
1.) In LevelManager.cs look for
void loadLevels(string value)
In here you just add your Lifes system, Example:
 void loadLevels(string value)
    {
        if(LvGameManager.lifes>0)
        {
            LvGameManager.lifes--;
            SceneManager.LoadScene(value);
        }
        else
        {
            Debug.Log("NO LIFES LEFT");
        }
    }
Purchase Level Manager Plus here:

 Swimming Discus for your Aquarium? here you can get it. Also includes schooling/flocking system.
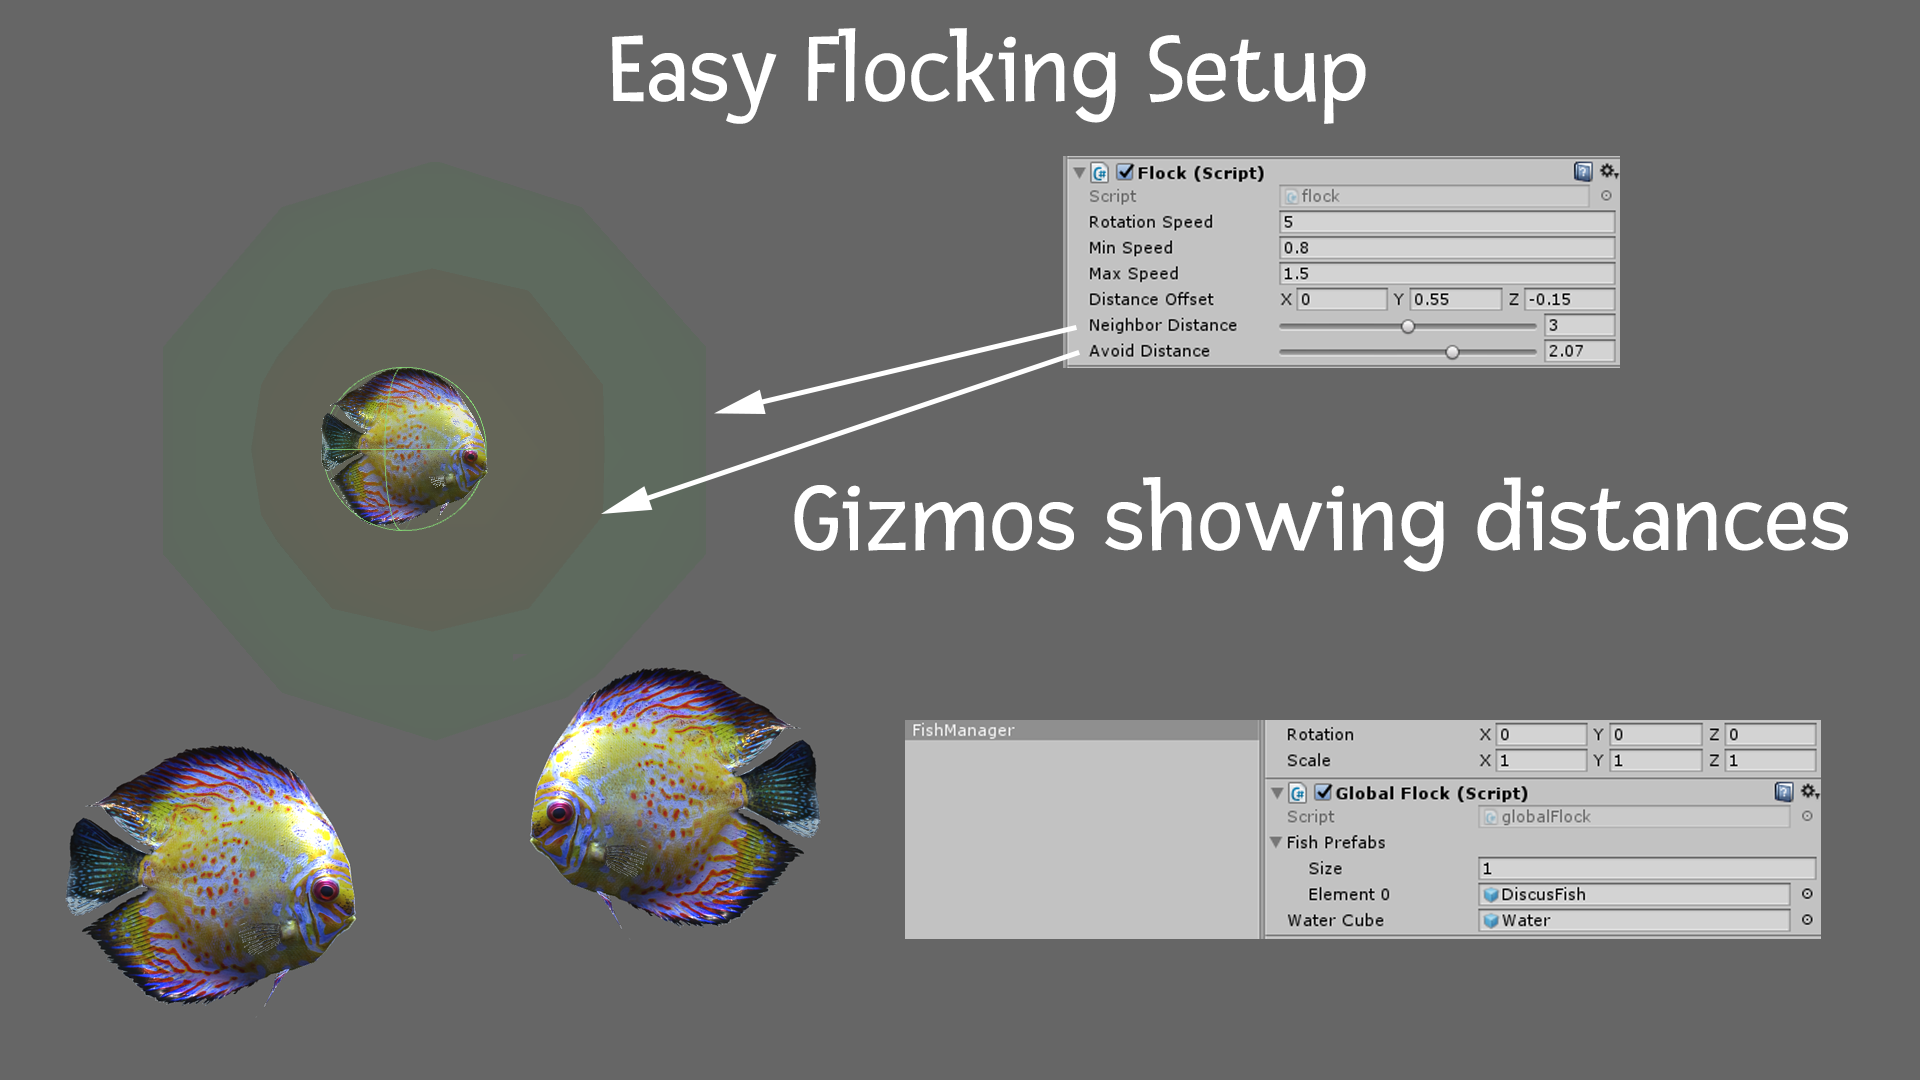
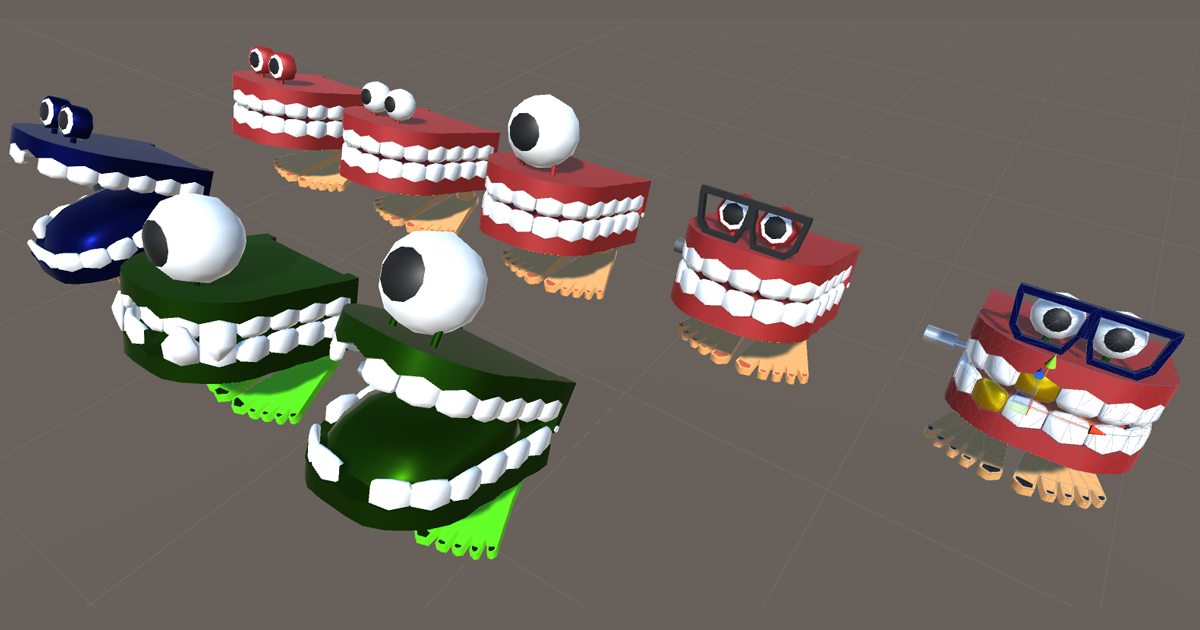
 Did you ever wanted a chattering teeth as a monster, enemy or just as an environment filler?
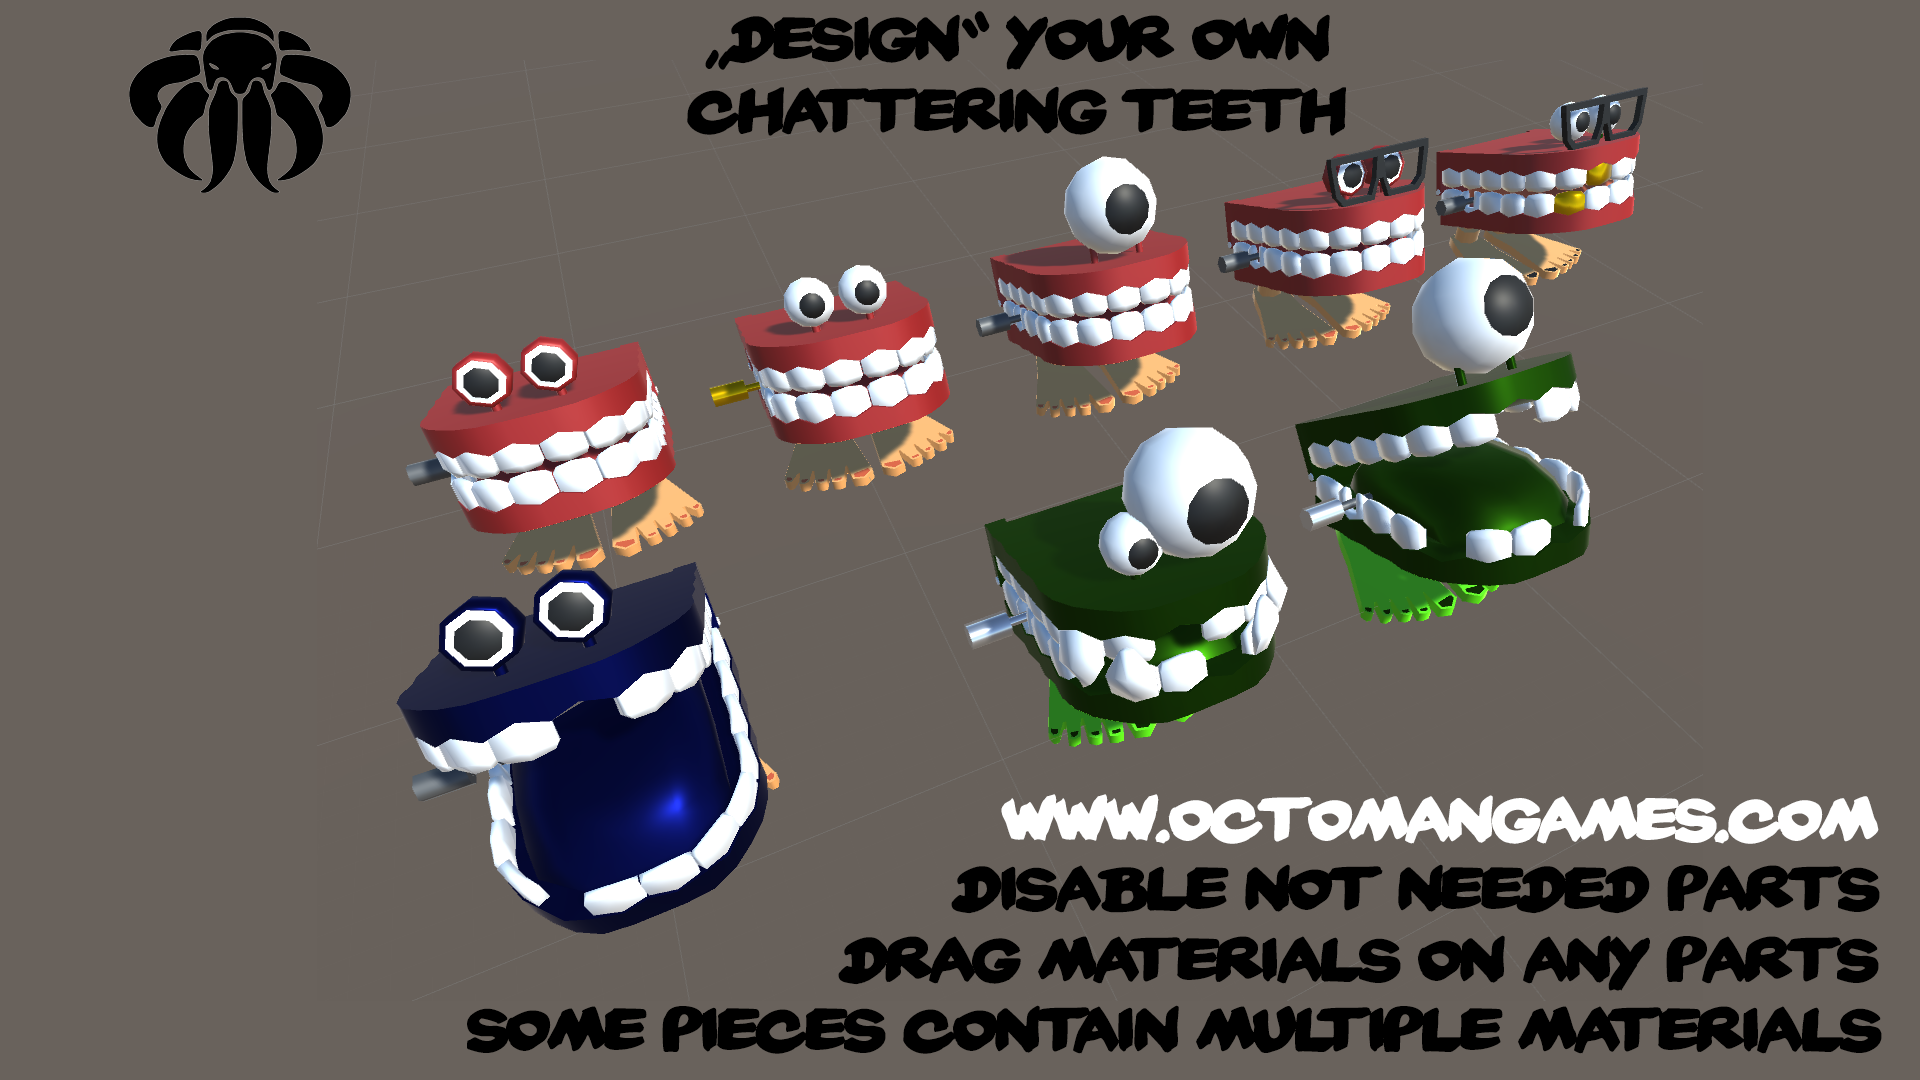


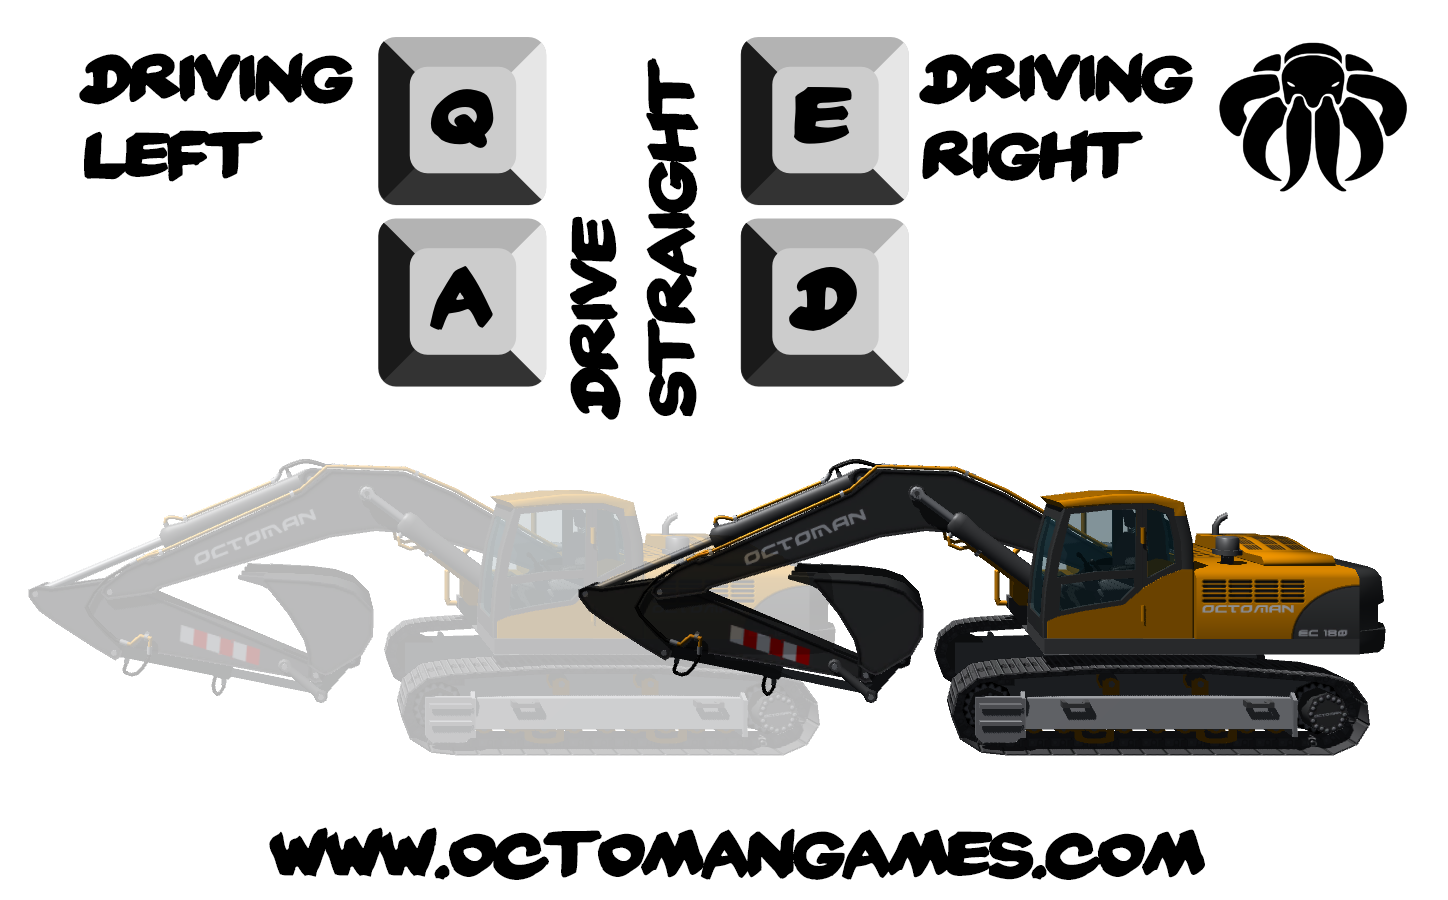
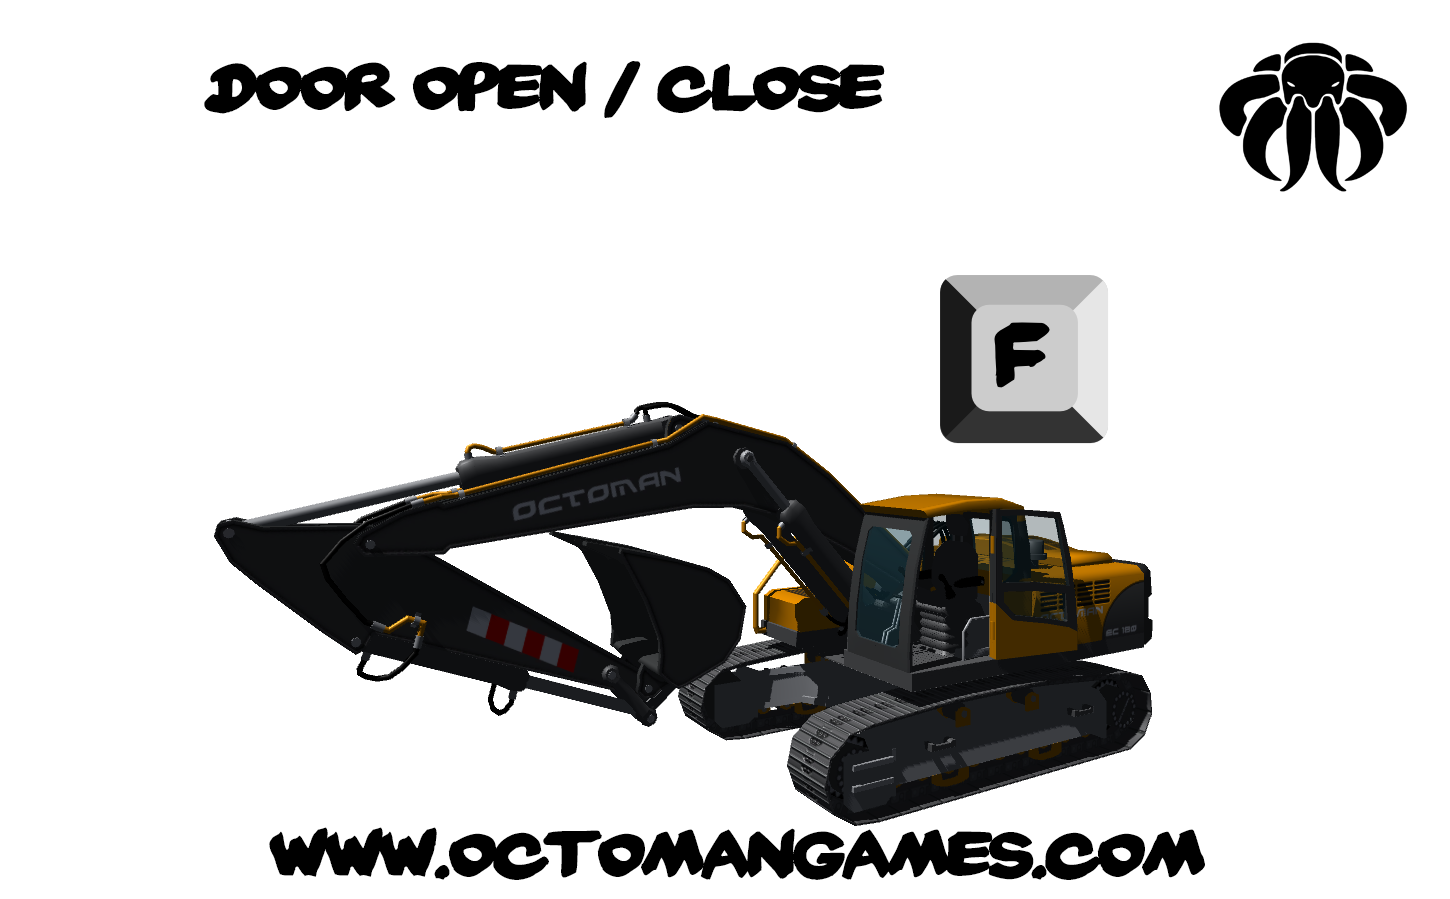
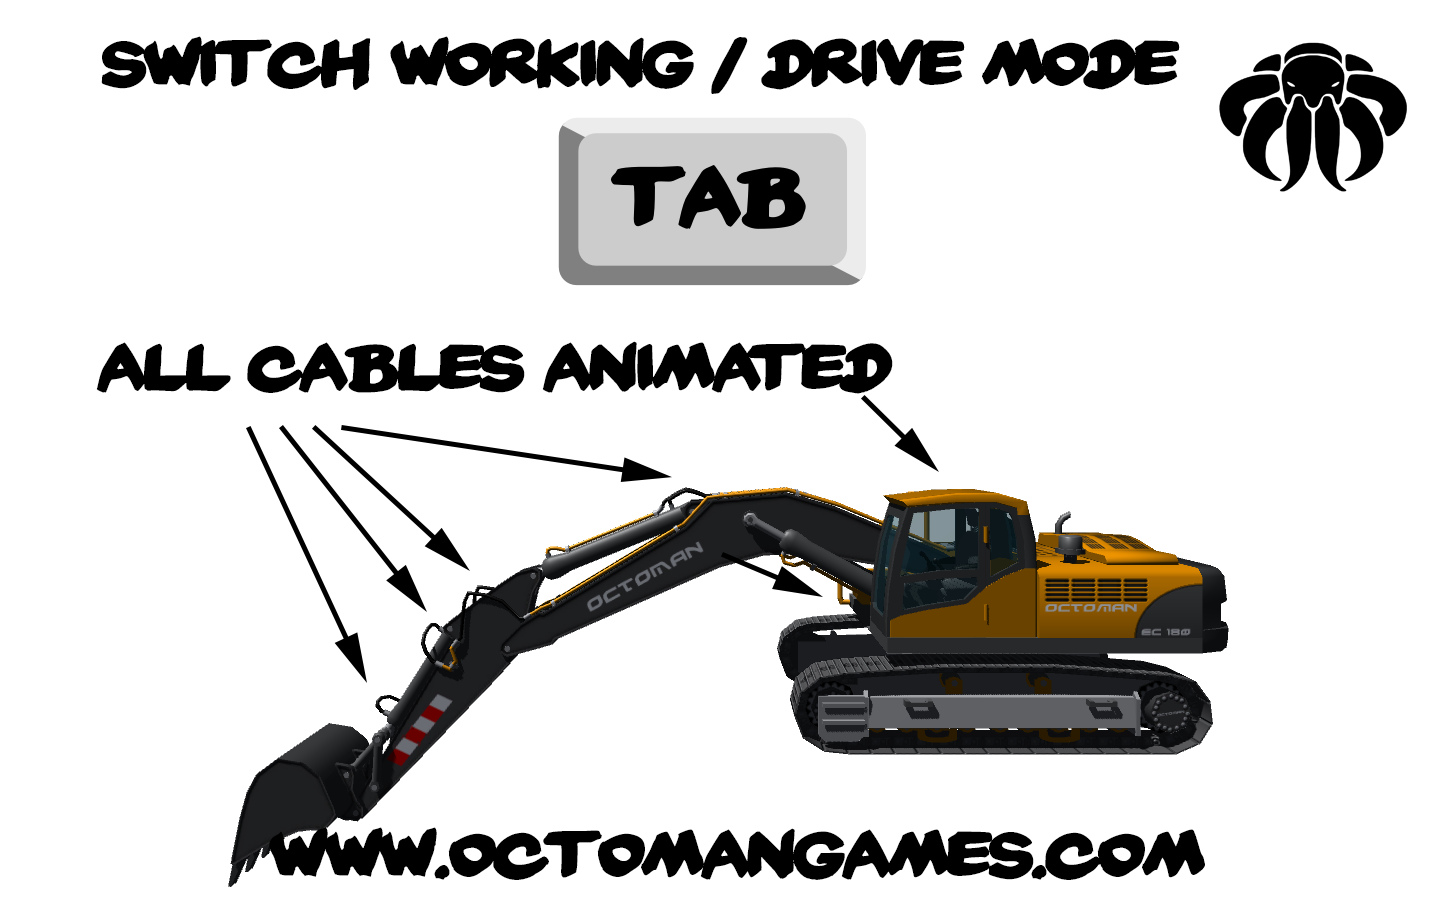
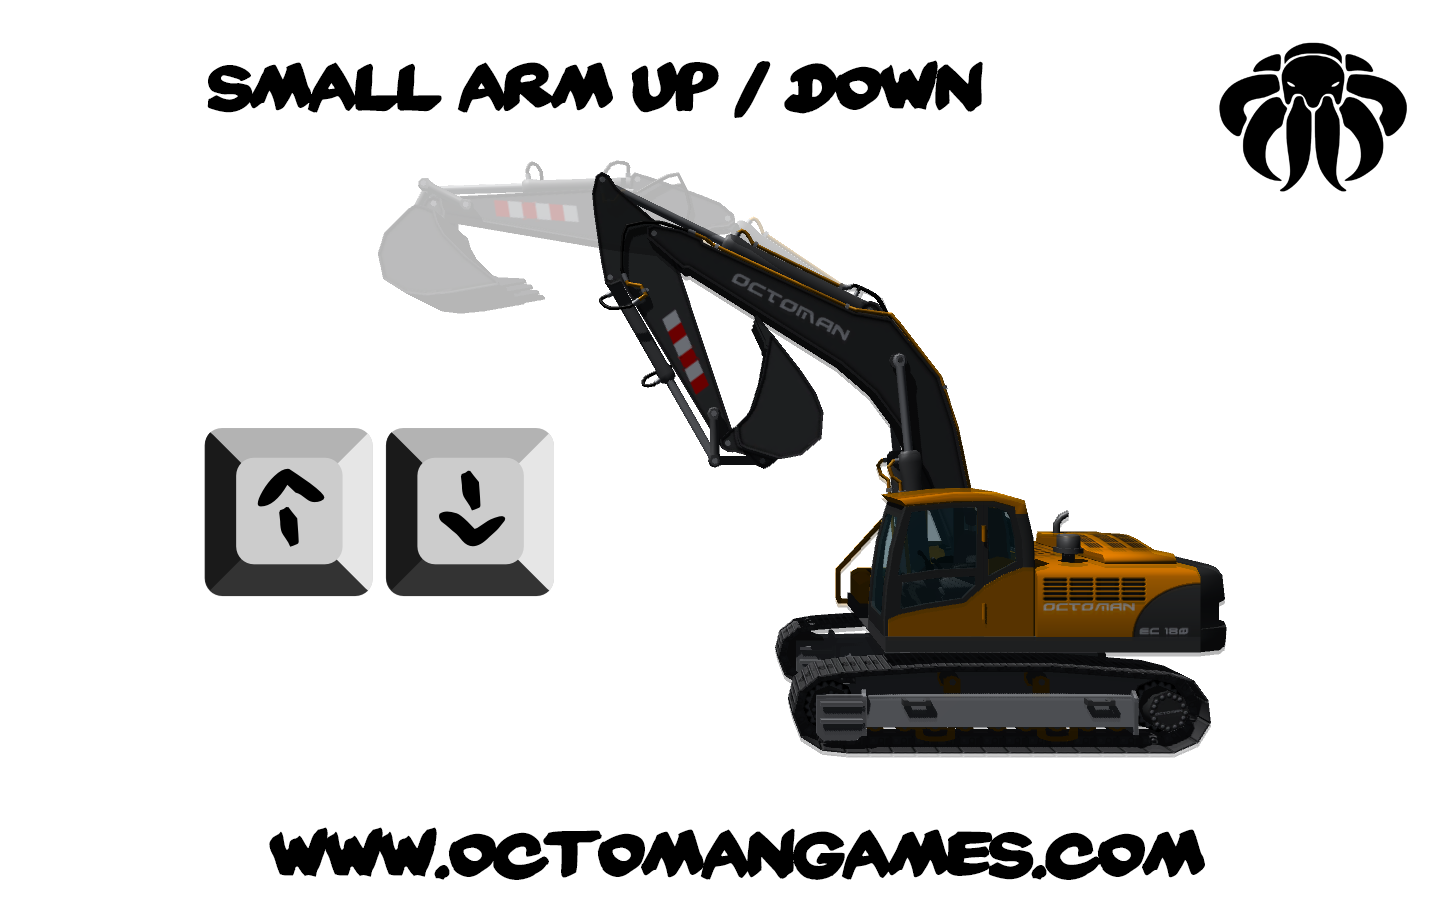
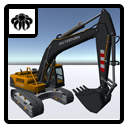 This is a rigged and animated hydraulic excavator with a rather low polycount. All important pieces are UV-Mapped, some just use materials, like cables, hydraulic pipes. Also i added 2 basics scripts to steer the excavator.